- Cait

- Aug 17, 2022
- 2 min read
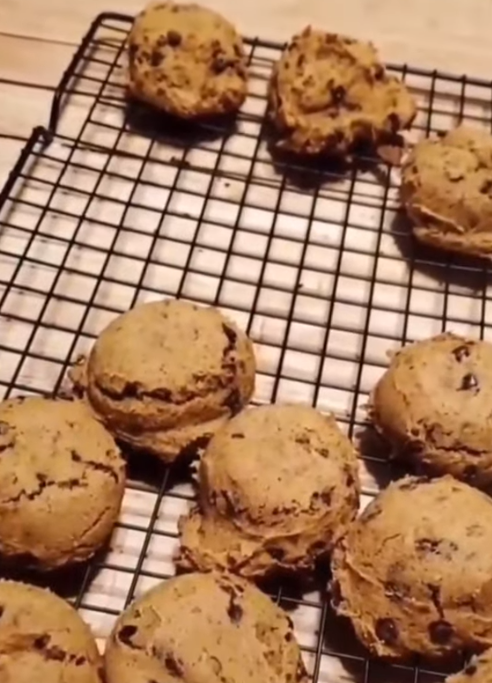
I make these deliciously fluffy cake-like cookies every fall. On this occasion, it was made sweeter by the fact that most of the ingredients I used were found on clearance or reduced racks. This made it even more affordable and I just love the thrill of bargain hunting. I use a cookie scoop and a baking sheet lined with a silicone baking mat for the best results.
RECIPE Gluten-Free Pumpkin Chocolate Chip Cookies

Ready in 30-40 minutes
Ingredients
1 cup canned pumpkin
½ cup white granulated sugar
½ cup brown sugar (I prefer dark brown)
1 egg
½ c coconut oil melted and cooled
2 tsp gluten-free vanilla extract
2 cups gluten-free measure for measure flour ( I use King Arthur cup for cup flour)
2 tsp gluten-free baking powder
¾ tsp gluten-free baking soda
2 teaspoons pumpkin pie spice or cinnamon
½ tsp of salt
1 to 2 cups gluten-free chocolate chips (I use enjoy life mini chocolate chips)
Preparation
Preheat the oven to 350℉. Line baking sheets with silicone baking mats. I have also successfully used parchment paper.
In a large bowl, combine pumpkin, sugar, brown sugar, egg, coconut oil, and vanilla extract. Mix until well combined.
In another bowl combine flour, baking powder, baking soda, salt, and pumpkin pie spice, and whisk to combine.
With a hand mixer on a low setting ( or whisk) slowly add dry mixture a little at a time to wet mixture until combined. Scrape the bowl down with a rubber spatula a few times in between mixing and adding dry ingredients.
Gently stir in chocolate chips and allow the mix to sit for 10 minutes.
Using a cookie scoop or tablespoon, scoop round spoonfuls onto the prepared baking sheet leaving 1-2 inches in between each cookie.
Bake at 350 ℉ for 10-12 minutes or until set and slightly golden.
Allow cookies to rest on the cookie sheet for a few minutes before using a spatula to transfer to a wire rack to finish cooling.
Tips
Allow the cookies to cool completely before storing them in a covered container for up to 3 days. I store mine in the refrigerator or freeze them to ensure freshness after a few days.


